Have a Question?
ClickUp integration with Monitask
Integration configuration
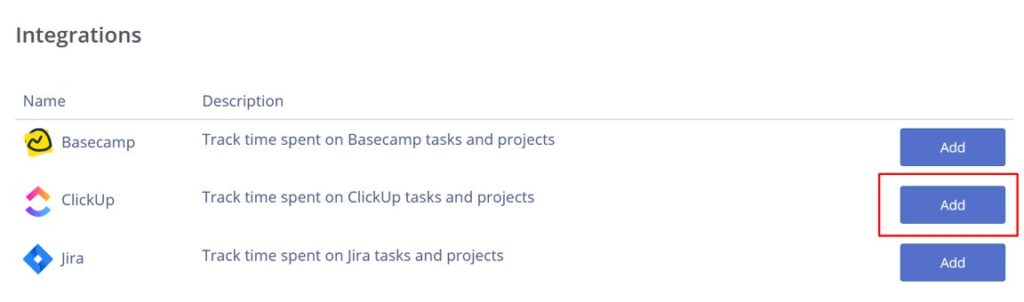
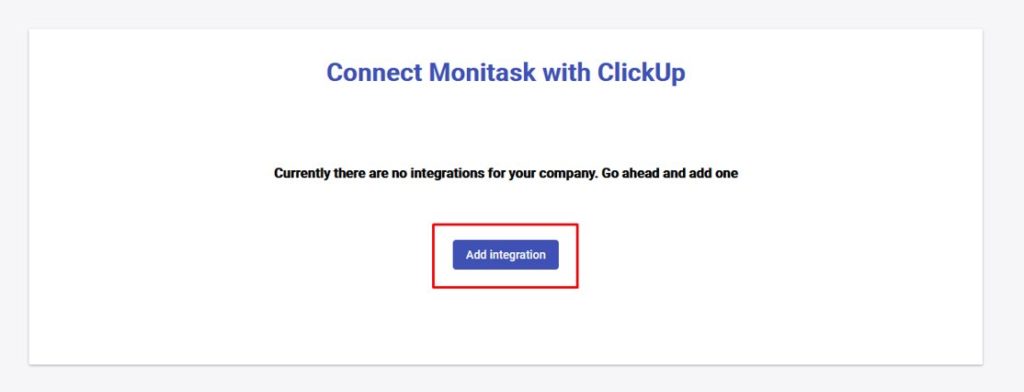
1) Browse the integrations page in Monitask admin dashboard: https://app.monitask.com/integrations and click “Add ClickUp integration”
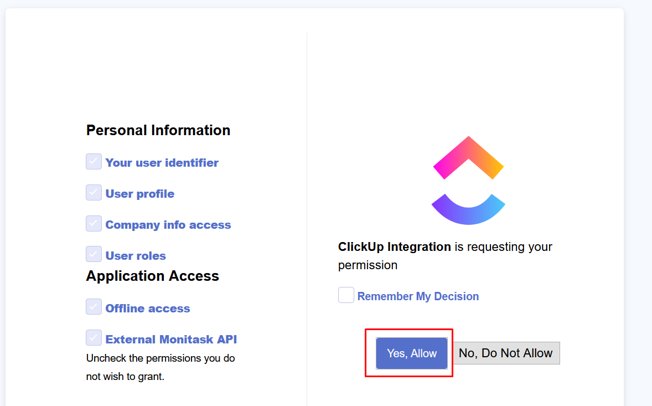
2) Log in to Monitask account and agree to the permissions
3) On the opened page click “Add integration”
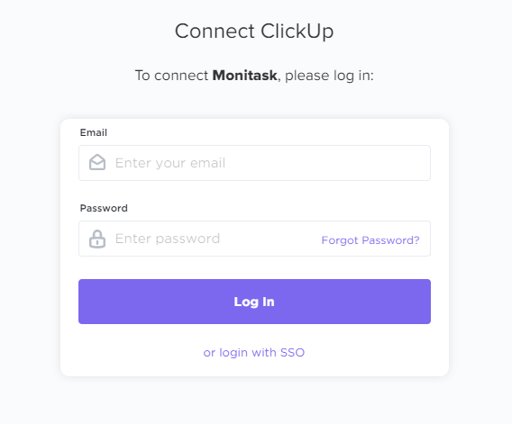
4) If you are not logged in the ClickUp you will be redirected to the login page
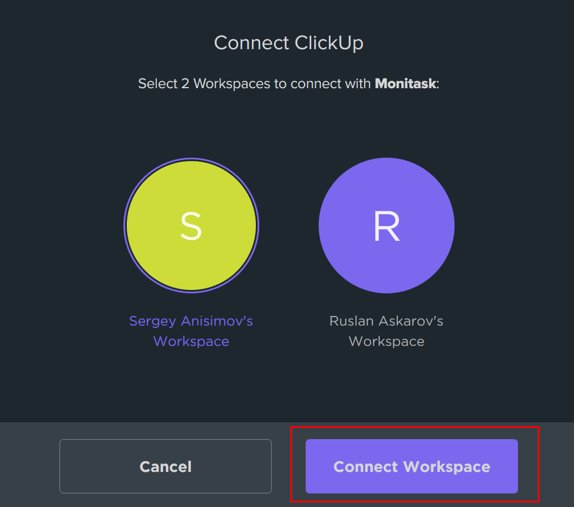
5) Select ClickUp workspaces you would like to connect to Monitask
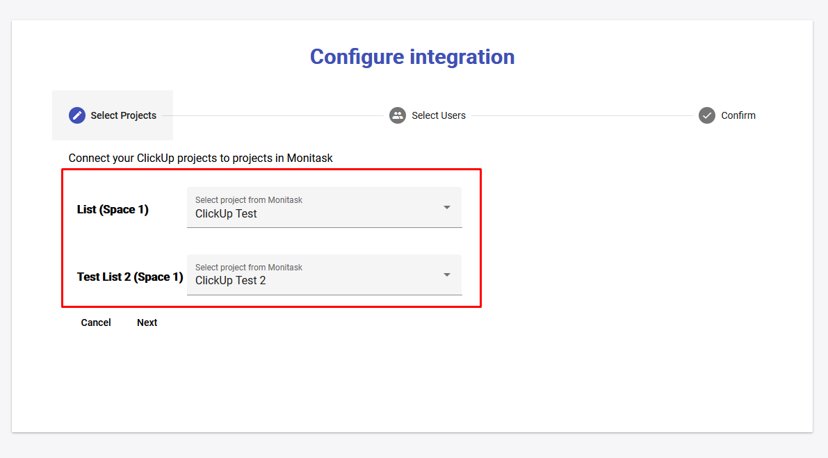
6) Map ClickUp lists to projects in Monitask and click Next
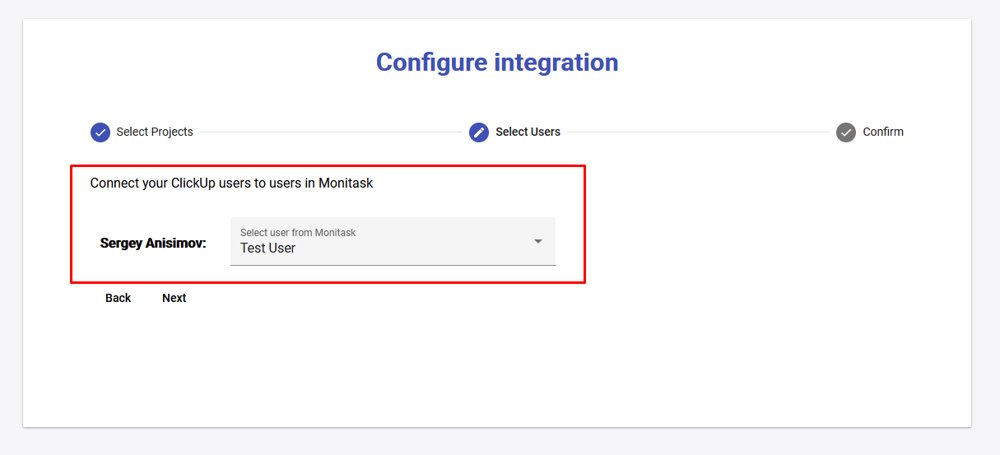
7) Map ClickUp users to users in Monitask and click Next
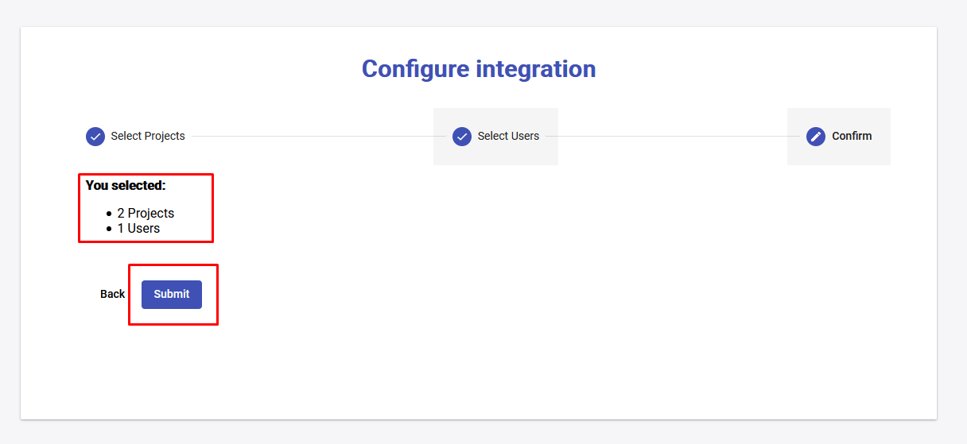
8) Review your settings and submit integration configuration. Wait a little while all tasks are transferred.
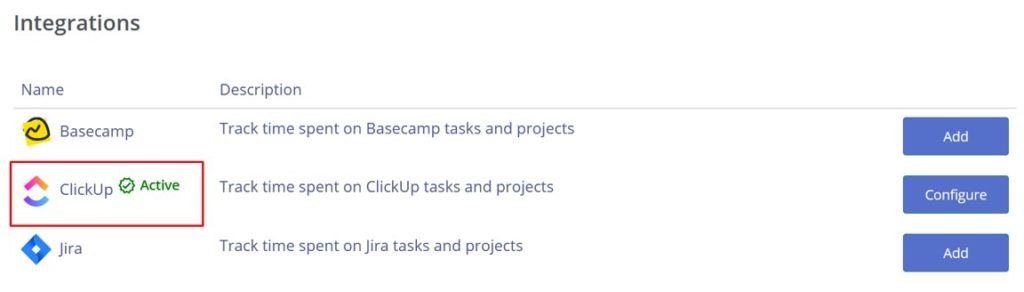
Congratulations, your Clickup integration with Monitask is ready!
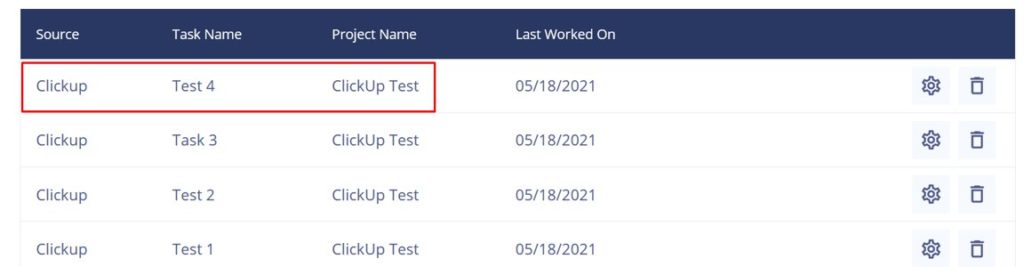
Now, you can browse https://app.monitask.com/notes/list tasks page and see tasks imported from ClickUp to selected Monitask projects
Configuration requirements
Your users in Monitask must be assigned to the corresponding projects so that they can see the integrated tasks assigned to them. You can view assignees in Monitask on the projects page https://app.monitask.com/project by clicking ‘Edit’ on a particular project.
Sync ClickUp to Monitask
How it works
We will transfer all created tasks and subtasks from click-up to Monitask, as if they are assigned to a user, they will be assigned to the corresponding user in Monitask.
Notes:
- If you create a new task or subtask in a ClickUp, it will automatically be created in the Monitask in the web app and in the desktop application
- Tasks with the same names will not be created, however, if you create a task with the same name but with new assignees, the system will link new users to the existing task in the Monitask
- If you rename the task in the ClickUp, the corresponding task in the Monitask will be renamed too
- If you delete a task or subtask in a ClickUp, the task from the Monitask will not be deleted, the system only adds new tasks
- If you add a new assignee in the ClickUp, the corresponding assignee will be added in the Monitask
- If you delete assignee in a ClickUp, assignee in Monitask will not be deleted, the system only adds new assignees
1) Browse ClickUp list and click Add new task
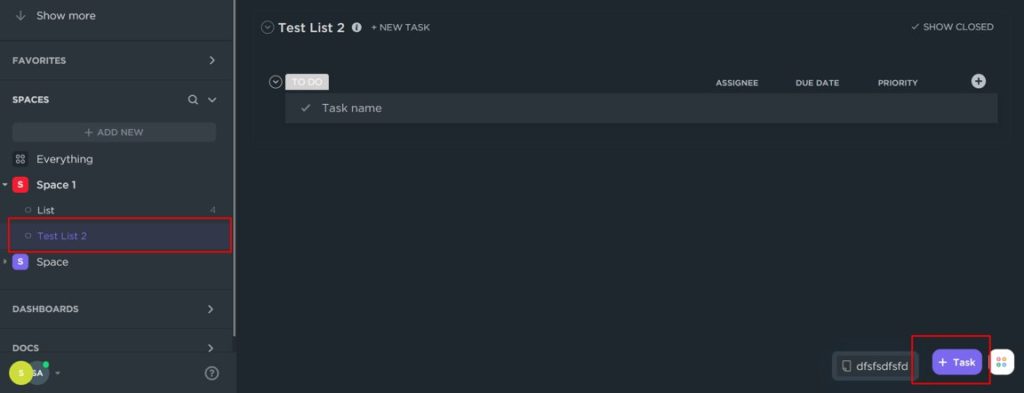
2) Specify task details
- Set task name
- Set assignee for that task
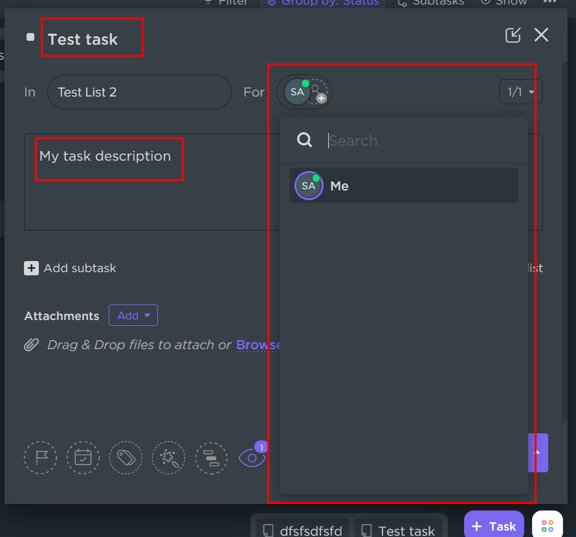
(Assignee should be a one of users selected during integration configuration)
- Optionally specify task description
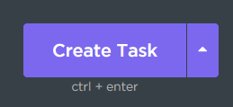
Then click Create task:
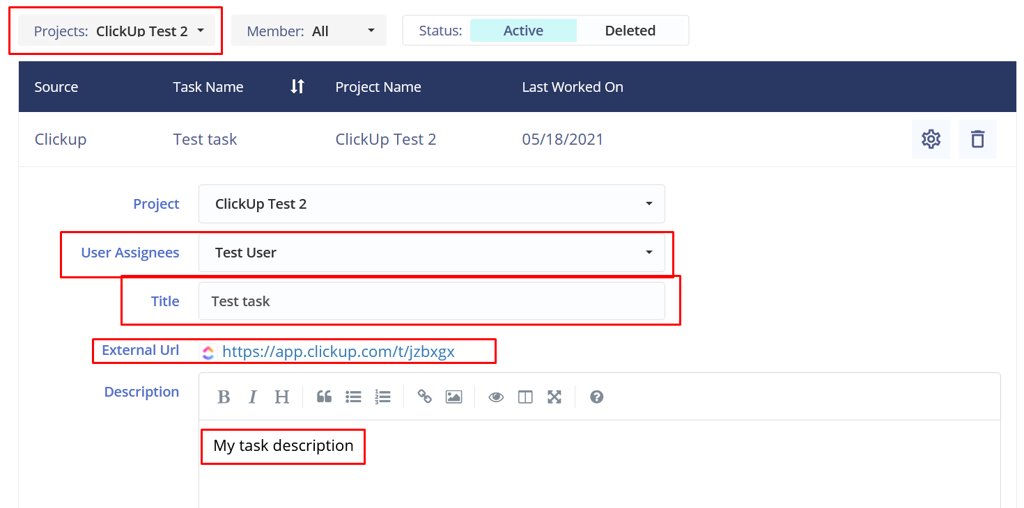
3) Browse tasks page https://app.monitask.com/notes/list in Monitask and check that task is synchronized to selected Project
4) Now assigned to that task person should be able to see it in the desktop application:
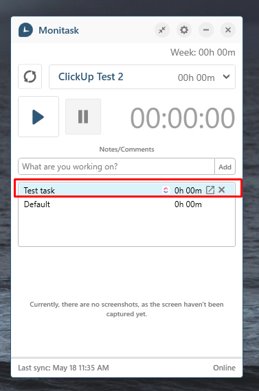
5) That person should be able to see task details using desktop application interface
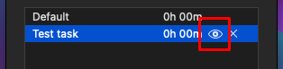
On Windows and Linux:
User can see ClickUp icon in the task list control and click on the ‘Details’ button to view task details

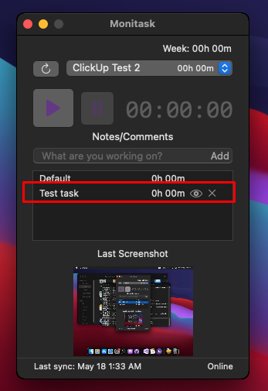
On Mac:
Mac user can view task details by clicking on the ‘View’ button
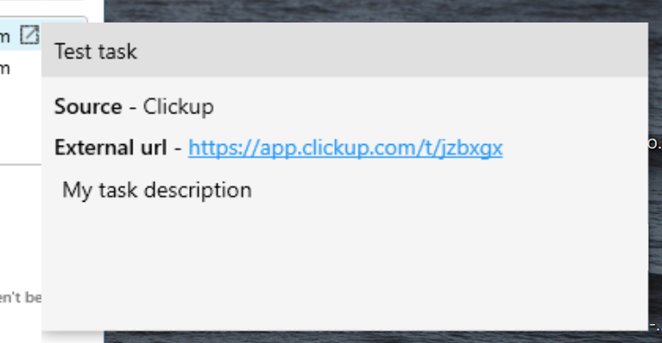
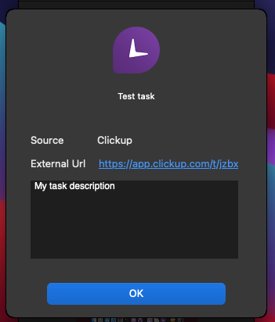
There he will be able to see that task source is ClickUp and task description
Sync Monitask to ClickUp
How it works
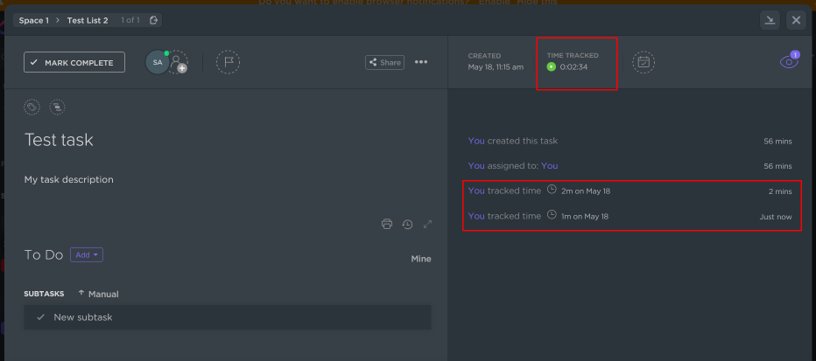
When user starts time tracking in the Monitask desktop application, we sync time to ClickUp after the first minute and then every 10 minutes. Also, time is synced each time user stops tracking (Clicks on the Pause button)
Notes: No changes to the tasks in the Monitask will be transferred to the ClickUp
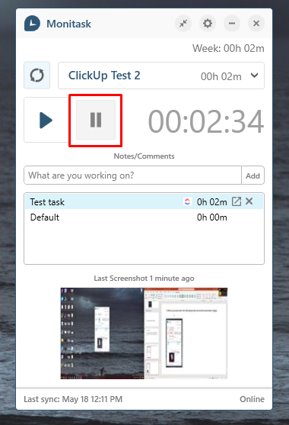
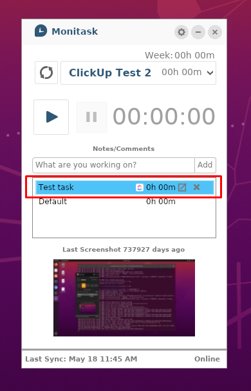
To start time tracking select a ClickUp task in the desktop application (it should be highlighted with light blue) and click on the ‘Start tracking’ button
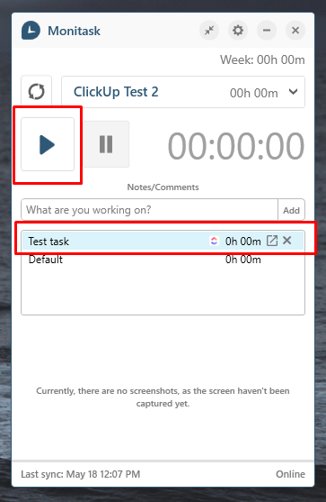
When you are done click on the ‘Stop tracking’ button and see time synchronized to ClickUp