Have a Question?
Guide to Getting Started with Monitask (Stealth Mode)
Monitask provides positive ROI for your team by reducing time spent on unproductive tasks and keeping your team focused on what is important.
Also, you can monitor your employees’ work progress in hidden mode on one condition: your company must own employees’ computers.
It is easy to get started to monitor your employee’s performance with Monitask by following this guide of essential account setup steps.
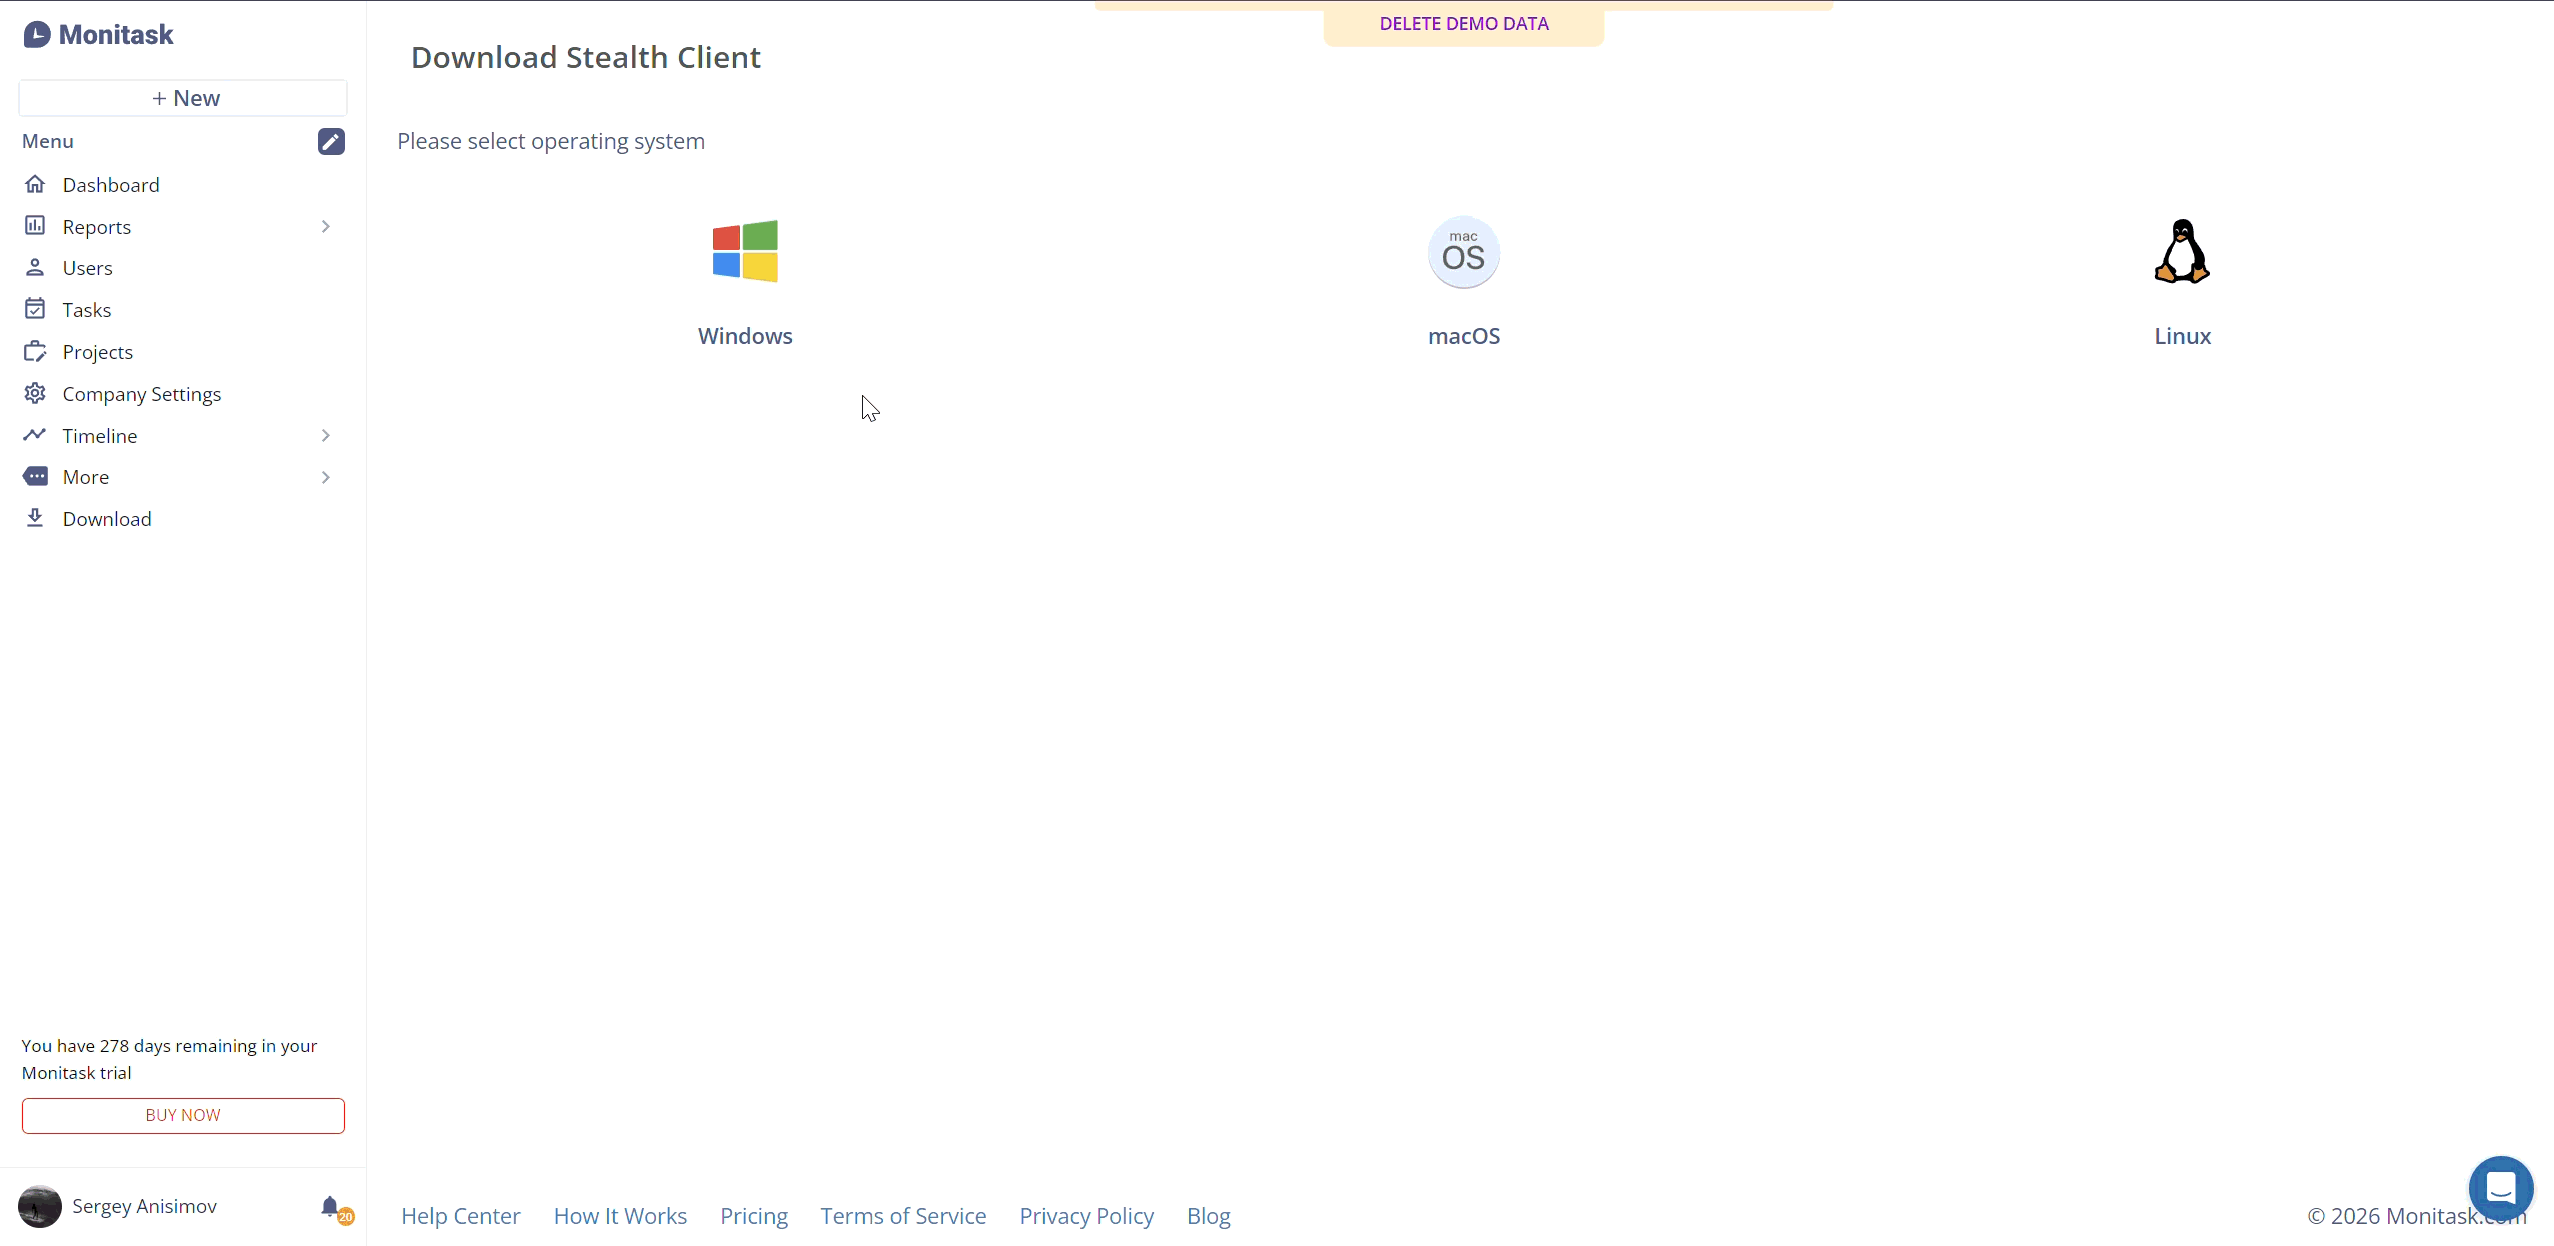
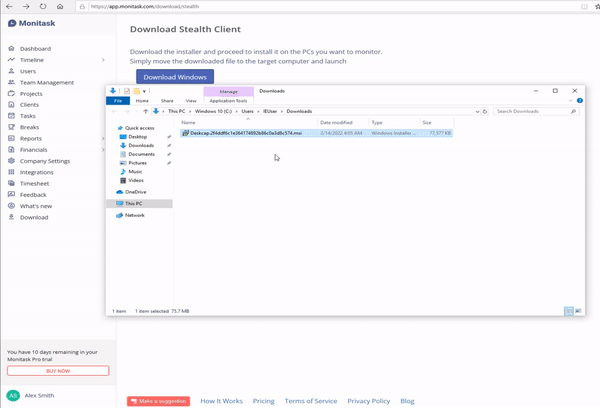
WINDOWS Installation Instructions
Installing the agent directly using a USB
- Log in to the administrator account of the company for which you want to install the client
- Go to the stealth client download page
- Select operating system and specify if a new Monitask account should be created during installation or connect to existing account
- Download the installation file and save it to a USB drive
- Copy the resulting file to the USB drive
- Log in to the account with administrator rights on the PC you want to add the client
- Insert the USB drive into the computer where you want to install the client
 Run the file copied to the USB drive
Installing using the Command Line
- Click Start menu, (in the search box, type) cmd,
- Right-click on a search result and choose Run as Administrator.
- In the command prompt, input – msiexec /a %path\setup.msi%
- Press Enter to start the install process.
Installing via Group Policy (Windows)
Follow these steps to install Monitask MSI via group policy: Use Group Policy to install software – Windows Server | Microsoft Learn remotely.
Installing via Microsoft Intune (Windows)
To Install via Microsoft Intune, follow these steps:
- Download the stealth installer. (Make sure to select “Add a New user,” not “Connect to the existing user.”)
- Make sure that the file name has the original name (No spaces, no (1) at the end, etc. Correct file name needs to have this format: deskcap.{id}.msi.)
- Navigate to Apps -> All Apps -> Add -> Line of Business App
- Fill out the fields:
- Publisher: FEST Technologies, LLC
- Ignore App Version: Yes
- Command line arguments: ORIGINAL_FILE_NAME=<downloaded_file_name.msi>
- For example, ORIGINAL_FILE_NAME=deskcap.95db52606a83483ba8cc10dfc87691da.msi (must be your original downloaded file name, no spaces allowed.)
- Add assignments based on your needs and submit the form.
Installing via MDM tools (Windows)
If your organization uses MDM (Multi-device management) tools, you can follow your software provider’s standard instructions on how to install MSI files.
Note, it is required to pass original file name that you download as a command-line argument: ORIGINAL_FILE_NAME=<downloaded_file_name.msi>
After the steps, you can easily monitor your team members’ activity, productivity, and working time in your admin panel.
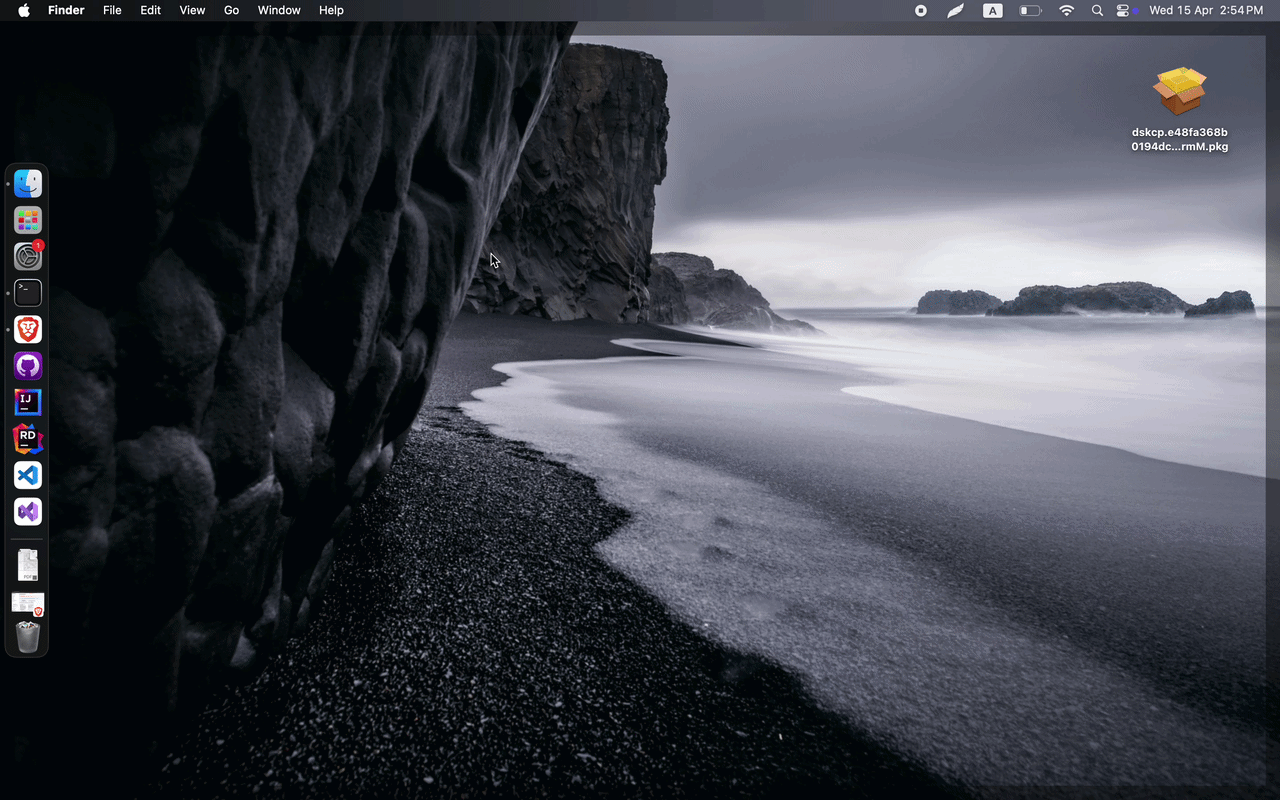
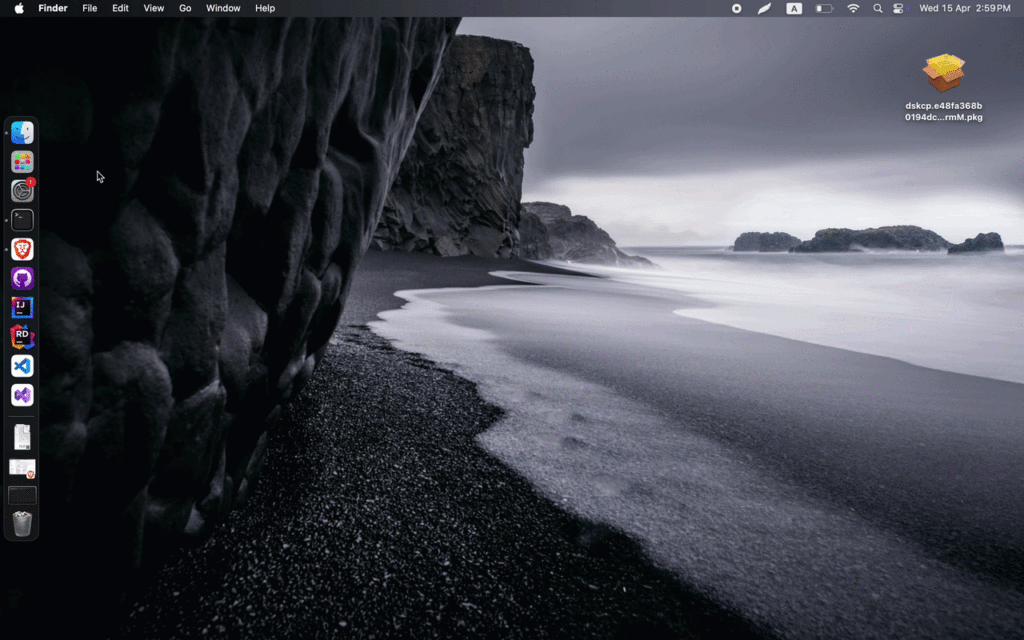
MACOS Installation Instructions
- Open the downloaded
.pkginstallation file. - Follow the installation wizard and click Continue until the installation is completed.
- Once the installation is finished, close the installer window. The Stealth Client will start automatically in the background.
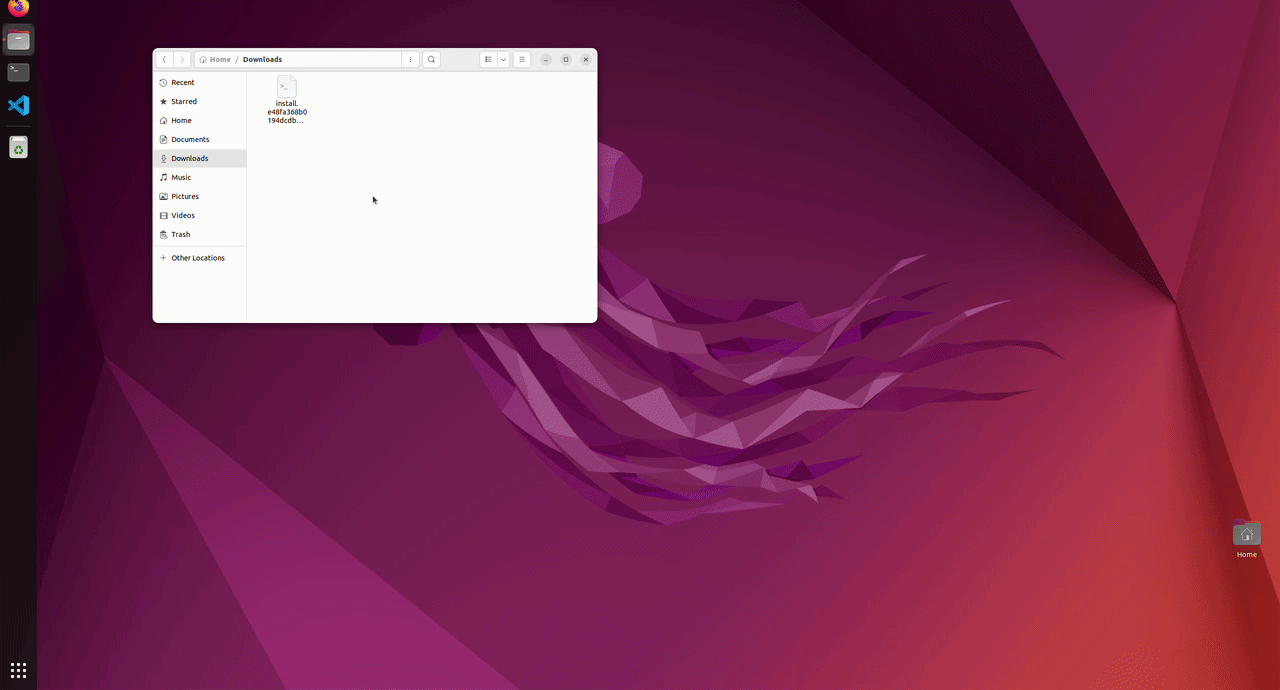
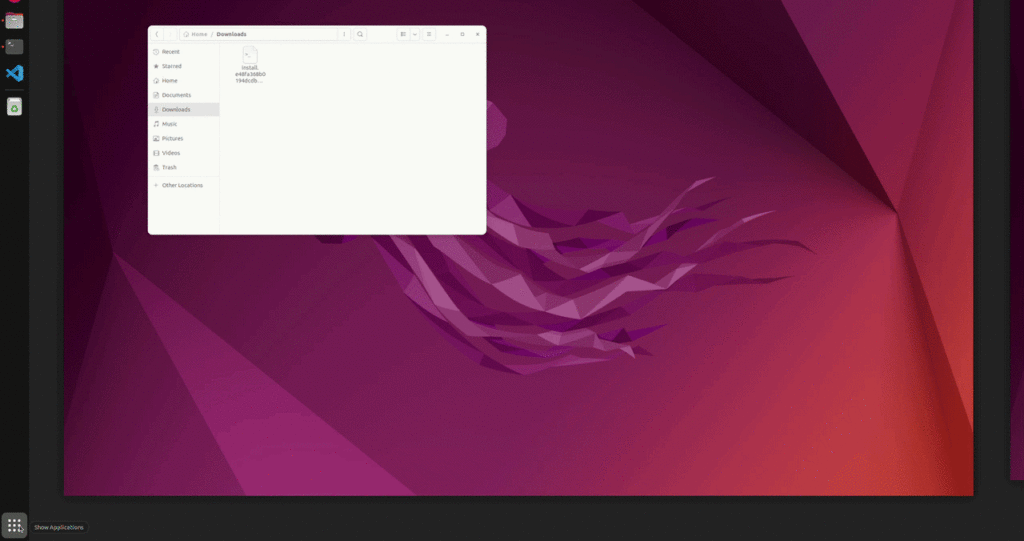
LINUX Installation Instructions
- Add executable flags for downloaded file. To do this open Terminal and execute command chmod +x ./path_to_downloaded_file
- Execute the file
Checking the Installation Result (Optional)
Windows Installation Verification
- Open Apps & features Settings, right-click on the Start menu > Apps & features
- In the search bar, type: Deskcap
- If the installation was successful, a line with the installed client will be displayed

MacOS Installation Verification
- Open Activity Monitor (Please note that it might take some time to load)
- In the search bar, type: Deskcap (or) dskcp
- If the installation was successful, a line with the running process will be displayed
Linux Installation Verification
- Open Activity Monitor
- In the search bar, type Monitask
- If the installation was successful, a line with running process will be displayed
Troubleshooting common issues
File Name requirements
When installing Monitask stealth mode, you will be downloading a file with a name that looks like this: Deskcap.b3f9ac4710ae4a45b1c6b45b881549f3.msi (Your file name will be a little different since it contains unique company code.)
Please do not change the file name, otherwise your captured data will not appear in the dashboard.
Firewall and antivirus configuration
Usually, Monitask stealth mode will work without any changes to the firewall or antivirus settings. If Monitask app doesn’t transmit data to your dashboard after 3-5 minutes after installation, please follow these steps:
- Make sure the VPN is turned off. If your company uses a corporate VPN and it cannot be turned off, you will need to configure the VPN to allow communication with the following servers:
- app.monitask.com
- internal.monitask.com
- identity.monitask.com
- update.monitask.com
- deskcap.blob.core.windows.net
- Firewall settings need to allow outbound access to the following servers:
- app.monitask.com
- internal.monitask.com
- identity.monitask.com
- update.monitask.com
- deskcap.blob.core.windows.net
- Antivirus Configuration may need to be updated to whitelist the following program: “Deskcap” and the following service name: “Deskcap“
Computer Time
In rare cases, employees do not have the correct time configuration set on their computers. You can fix this by changing the time to align with their timezone. For example, you can set an option on Windows to “Set time automatically.”
You can follow these steps on Windows 11. The setting location may be different on older Windows versions:
- Right-click the time/date on the taskbar and select Adjust date and time.
- Select the Set time automatically toggle to turn it Off, then select Change.
If none of these steps help, please contact us at [email protected], and we will assist you with the installation process.